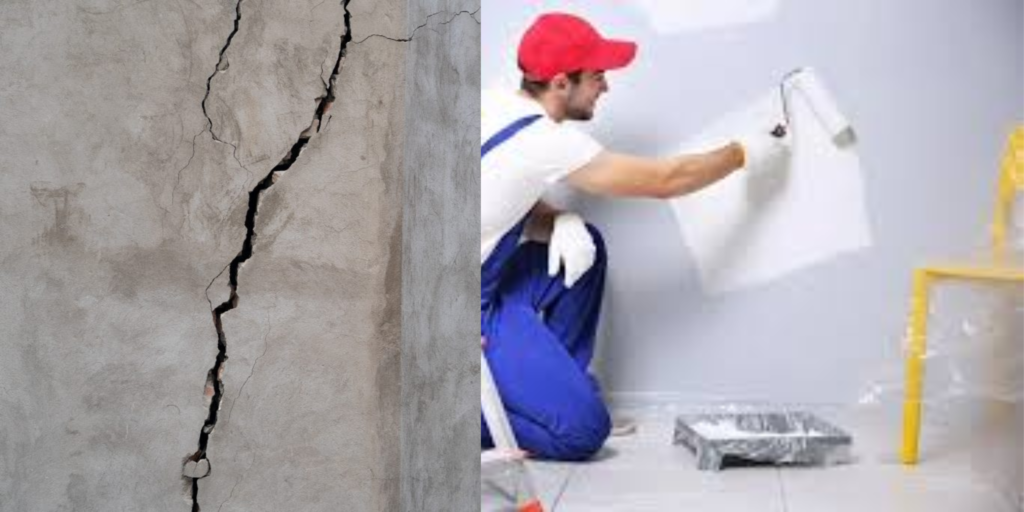
We’ve all been there. You’re sitting on the sofa, a cup of tea in hand, and your eyes wander to that one corner of the living room. There it is, a thin, jagged line creeping down the wall like a stray hair you can’t brush away. Or perhaps you’ve noticed the plaster looks a bit “pitted” and uneven when the afternoon sun hits it just right.
When you decide it’s finally time to refresh your home with some new wall paints, the excitement of picking the perfect shade usually takes over. Whether it’s a calming “Ocean Breeze” or a warm “Autumn Terracotta,” we all want that magazine-perfect finish. But before you even crack open a tin of British Paints, you’re faced with a bit of a DIY dilemma.
Do you need wall crack repair, or is it a job for wall putty? And more importantly, which one goes on first?
The “Foundation” Rule: Why You Can’t Just Paint Over It
Before we look at the products, let’s address the elephant in the room. It is incredibly tempting to just slap a thick layer of paint over a crack and hope for the best.
Trust us: don’t do it. Paint is decorative; it isn’t a structural adhesive. If you don’t fix the underlying issue, that crack will reappear faster than you can wash your brushes. To get that professional, “magazine-cover” finish, you need a smooth, stable surface. That’s where our two contenders come in.
Think of your wall like your skin. If you have a deep cut, you need a bandage (crack repair) to hold it together. If you just have slightly uneven skin, you might use a primer or foundation (wall putty) to make it look smooth. You wouldn’t put makeup over an open wound, right? The same logic applies to your home.
1. Wall Crack Repair: The Heavy Lifter
Think of wall crack repair as the “first aid” for your home. This is a specialized process (and often a specific product, like a crack-fill paste or sealant) designed to bridge gaps where the wall has actually split or moved.
When do you need it?
- Structural Cracks: If you see deep gaps, especially around door frames, windows, or where the ceiling meets the wall.
- Movement: If the crack seems to “grow” or if it’s deep enough to stick the edge of a coin into.
- The “Deep” Stuff: If you can see through the top layer of plaster to the grey cement or brickwork underneath.
Why use it first?
Crack fillers are designed to be flexible and strong. They “grab” the sides of the gap and hold them together. Houses naturally “breathe” and move slightly with the seasons. A proper crack repair compound can handle this tiny bit of movement. If you just put putty over a deep crack, the putty (which is more brittle) will simply snap the next time the house settles, and your beautiful paint job will split right down the middle.
2. Wall Putty: The Skin Specialist
If crack repair is the first aid, wall putty is the skincare routine. Putty is a white, cement-based or acrylic-based paste that is applied in a thin layer over the entire wall or specific patches. It isn’t meant to hold a wall together; it’s meant to make it look flawless.
When do you need it?
- Smoothing out: To fill in tiny pinholes, scratches, or “spider-web” hairline cracks that are barely visible to the touch.
- Levelling: To make an uneven or “wavy” plaster surface perfectly flat.
- Absorption Control: Putty creates a less porous surface. This is a big money-saver! Without putty, your wall paints might just “soak in” to the thirsty plaster, requiring three or four coats. Putty acts as a base so the paint stays on the surface where it belongs.
The Result:
A buttery-smooth finish that makes your paint look vibrant and stay stuck for years.
The Step-by-Step Guide: What Goes First?
If you want a wall that stays beautiful, follow this order. No shortcuts allowed!
Step A: The Prep Work
Grab a damp rag and wipe away any dust, cobwebs, or flaky old paint. If you’re dealing with a deep gap, here’s a handy trick: use a scraper to carve the crack into a slight “V” shape. Making the hole a bit wider might feel odd, but it actually gives the wall crack repair paste a much better surface to grab onto so it stays put.
Step B: The Crack Repair
Fill those deep gaps first. Use a high-quality crack filler from a trusted name like British Paints. Press it in firmly with a spatula and level it off.
Important Note: Let this dry completely! Most people rush this step. Depending on the depth, it might take a few hours or a whole day. If the filler is still damp when you move to the next stage, you’ll trap moisture in the wall, which leads to bubbles in your paint later.
Step C: The Wall Putty
Once your repairs are bone-dry, it’s time for the wall putty. Apply it in thin coats. Two thin coats are always better than one thick, gloopy one. Think of it like spreading butter on toast, you want it even. Once it’s dry, sand it down gently with fine-grit sandpaper until the wall feels like silk to the touch. Wipe away the sanding dust with a tacky cloth.
Step D: The Grand Finale
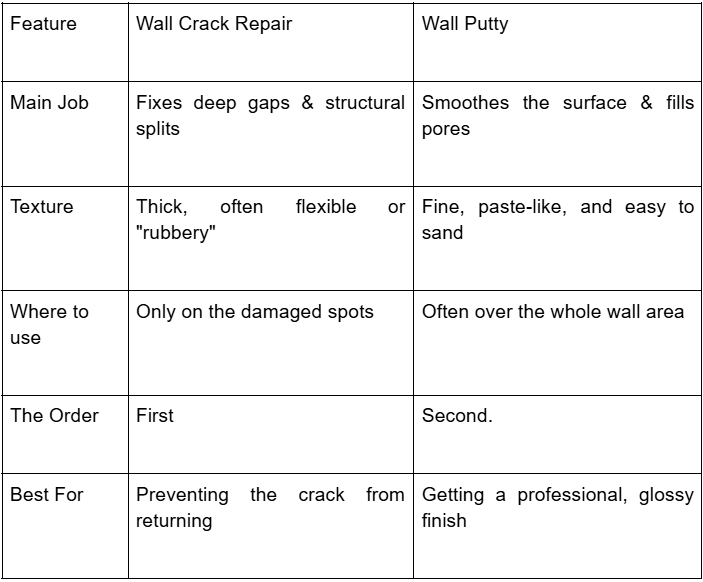
Now, and only now, reach for your wall paints. Because you’ve done the hard graft of repairing and smoothing, the paint will glide on easily, the colour will look uniform, and you won’t have any “ghost lines” where the cracks used to be.
Quick Comparison Table
Why Quality Matters: The British Paints Difference
You might think all white pastes are the same, but your walls would disagree. Using a low-quality putty or filler can lead to “flaking,” where the paint literally peels off in sheets because the base layer didn’t bond properly.
At British Paints, we’ve spent years perfecting the chemistry of our products so you don’t have to be a scientist to use them. Our Acrylic Wall Putty, for instance, is a dream to work with, it’s creamy, dries quickly, and provides a brilliant white base that makes your chosen paint colour look exactly like it did on the shade card.
Common Mistakes to Avoid
- Using Putty for Big Holes: Putty shrinks as it dries. If you try to fill a 1cm deep hole with putty, it will dip in the middle, and you’ll have to keep adding more layers. Use a dedicated filler first.
- Painting too Early: Patience is the best tool in your kit. If the wall feels cold to the touch, it’s probably still damp inside. Wait until it’s room temperature before painting.
- Forgetting the Dust: Sanding putty creates a very fine white dust. If you don’t wipe this off, your paint is sticking to the dust, not the wall!
Conclusion
So, which one should you use first? The crack repair, every single time.
Think of it like building a house: you don’t put the wallpaper up before you’ve finished the brickwork. Fix the cracks to ensure the wall is solid, use the putty to make it beautiful, and finish with a splash of colour to make it home.
Your walls take a lot of wear and tear, from kids bumping their bikes in the hallway to the natural settling of the foundations. Giving them a little extra love during the prep stage ensures that when you finally stand back with that second cup of tea, you’re looking at a flawless finish that lasts for years.